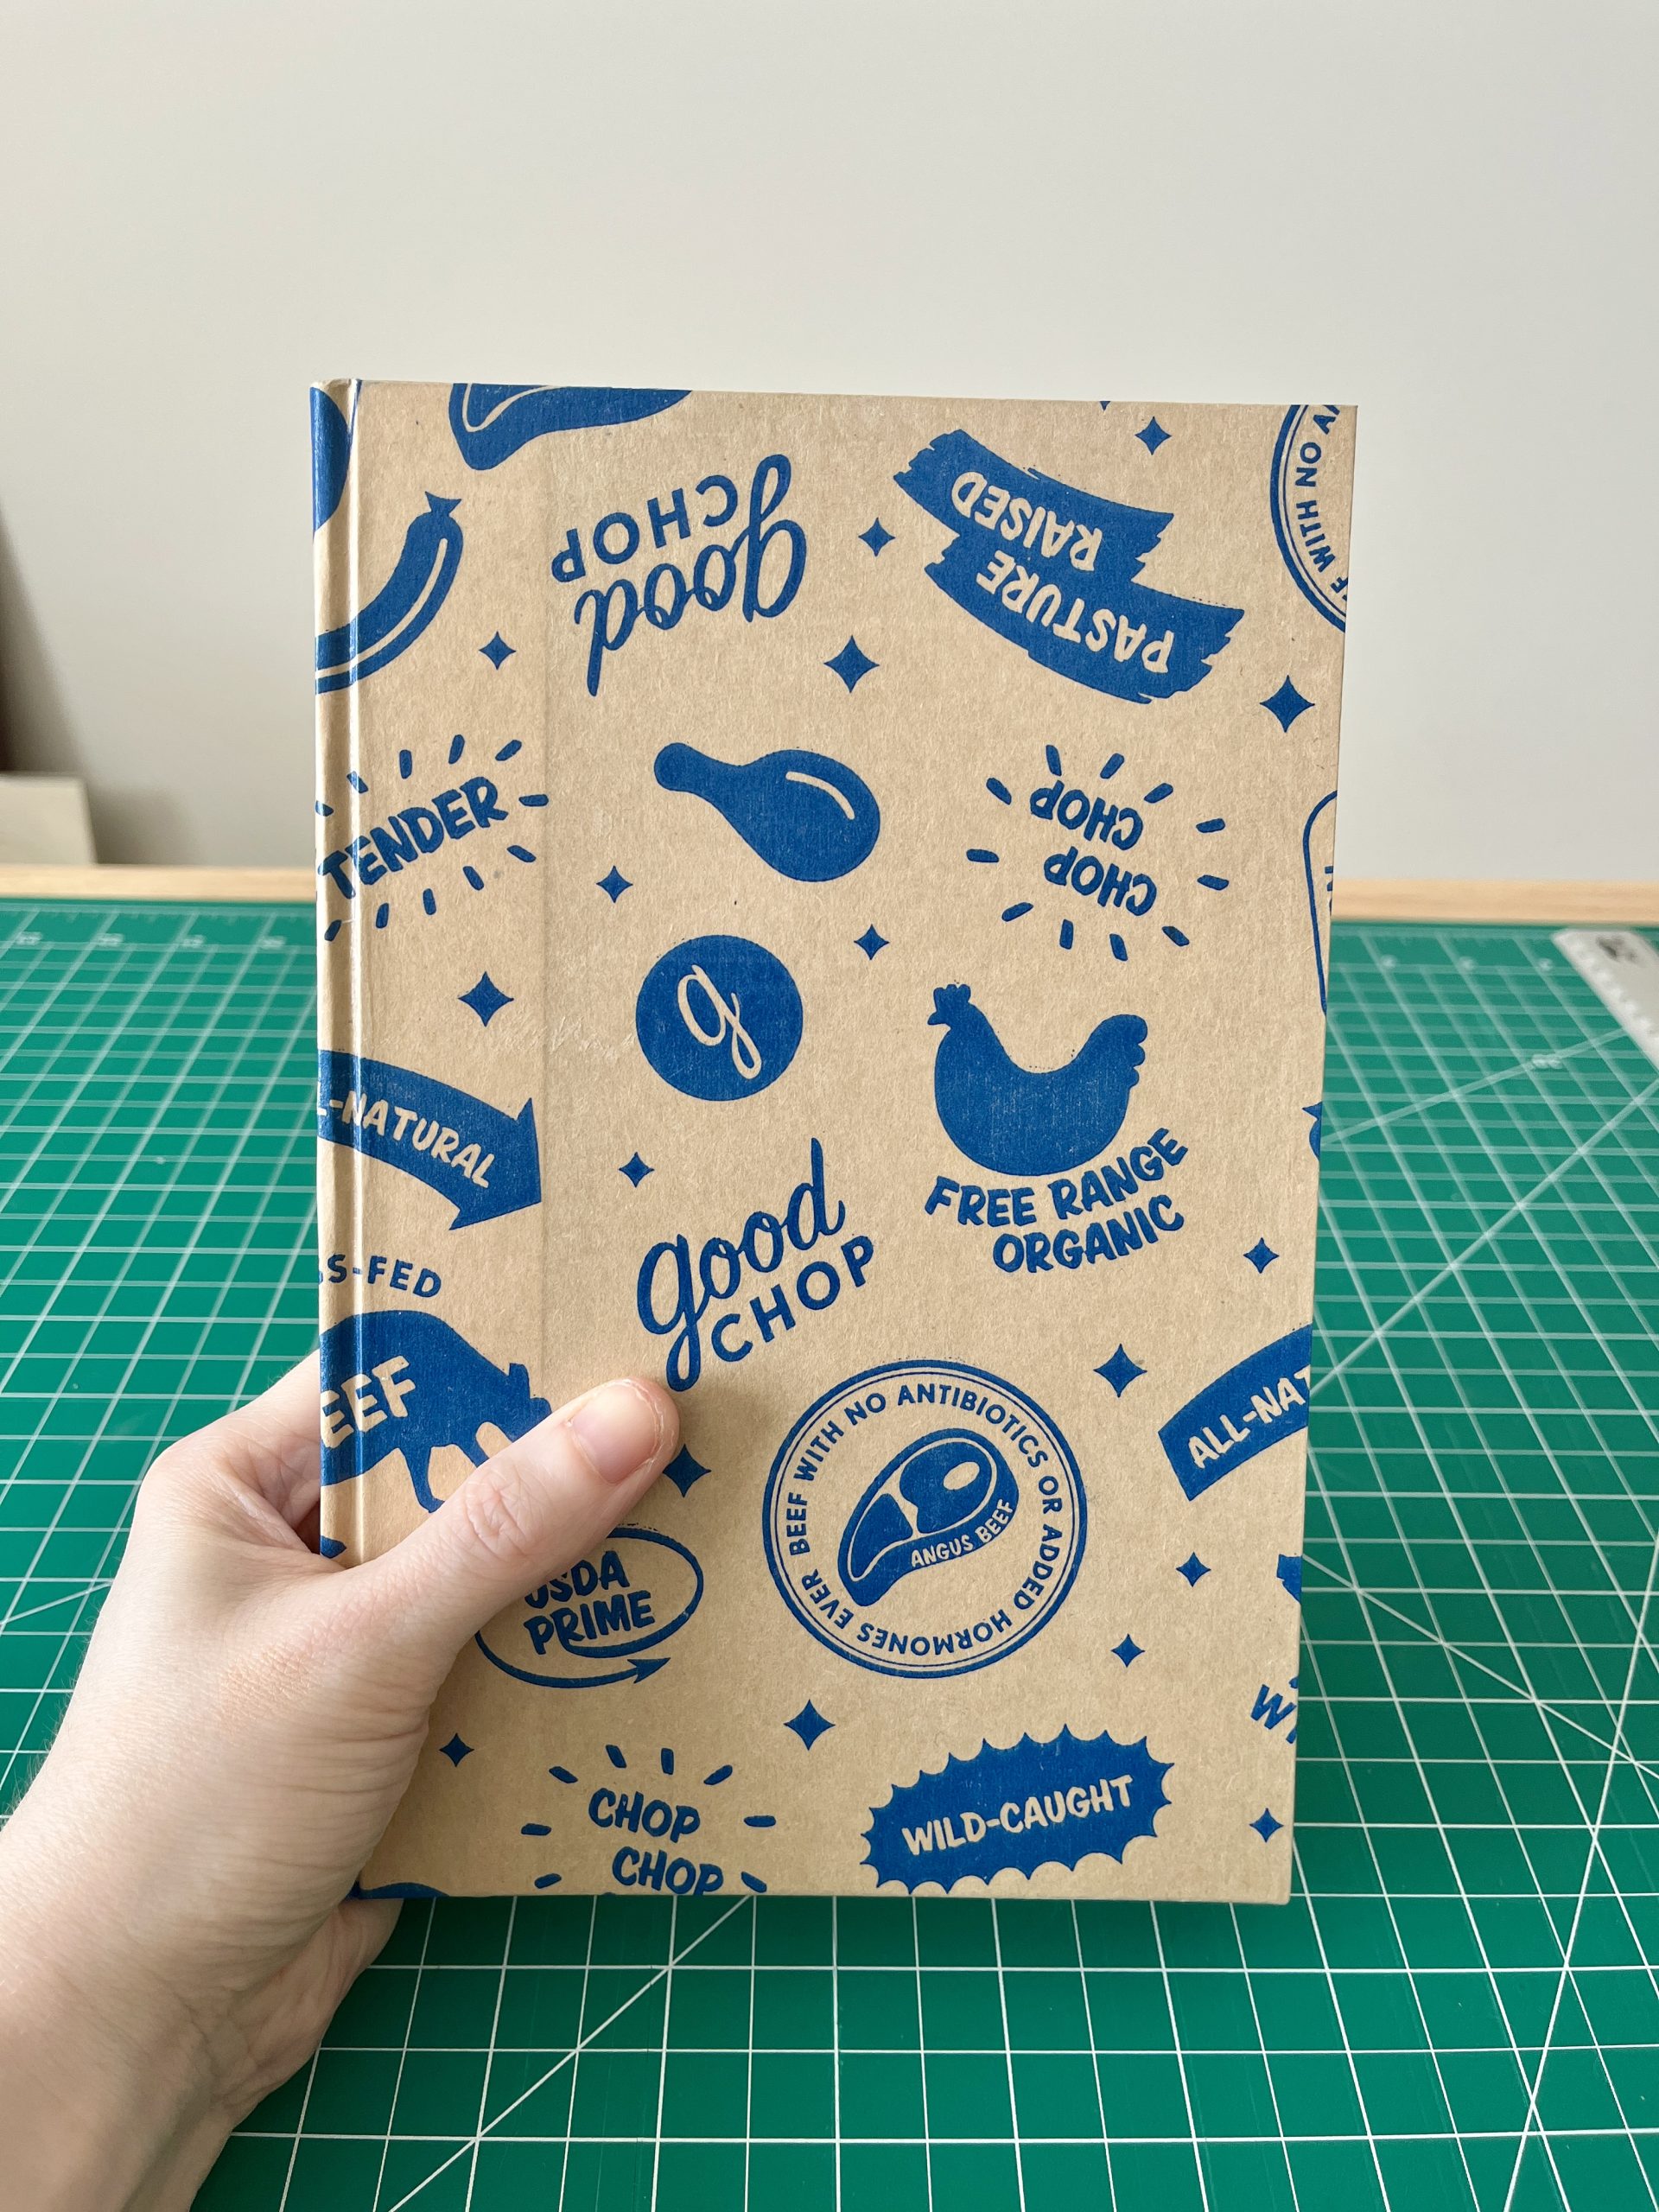

I’m learning how to case bind books from scratch and this is my first successful attempt. I know, I know, I need to take more process photos, but I was concentrating really hard, okay?!
Considerations:
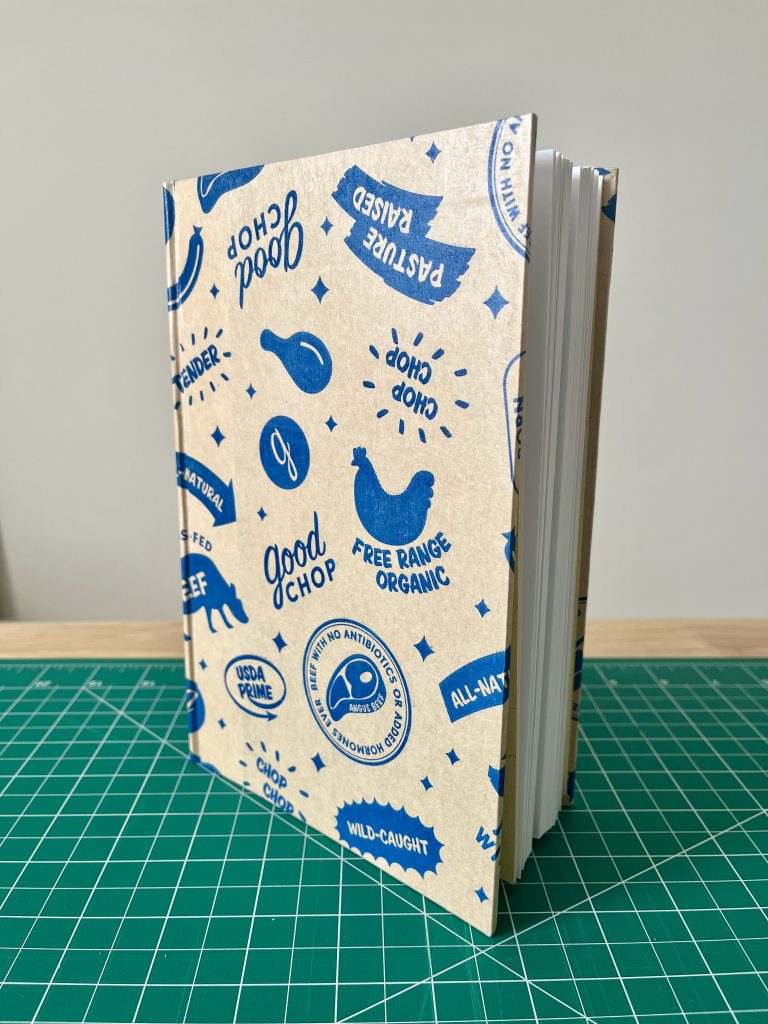
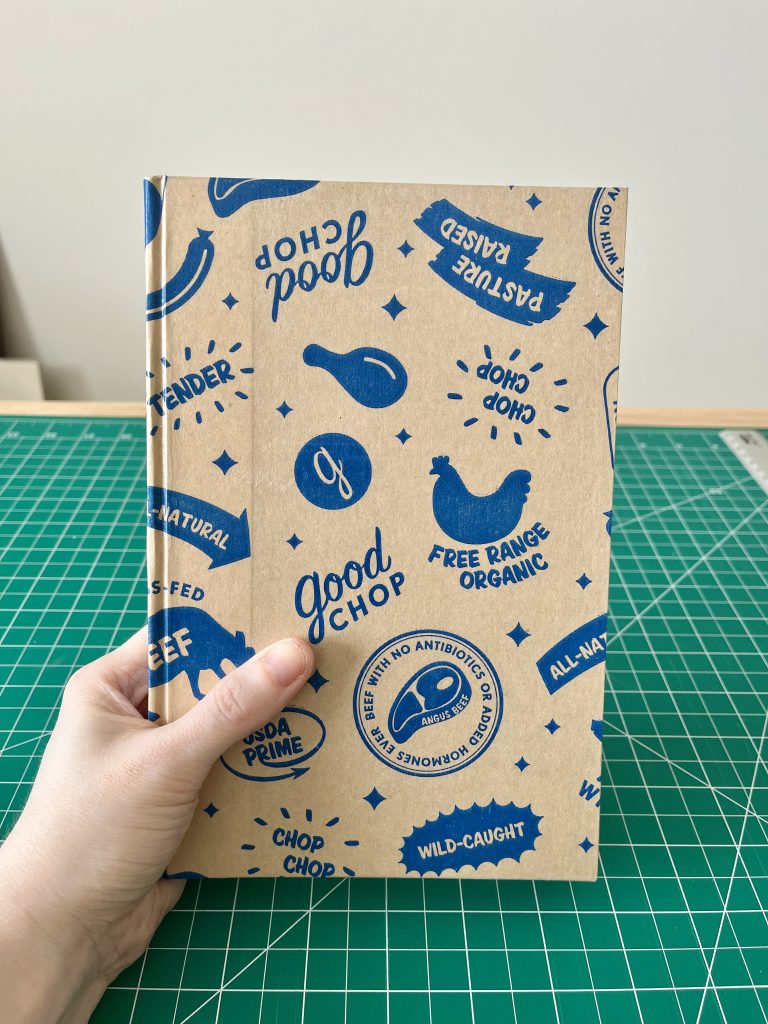
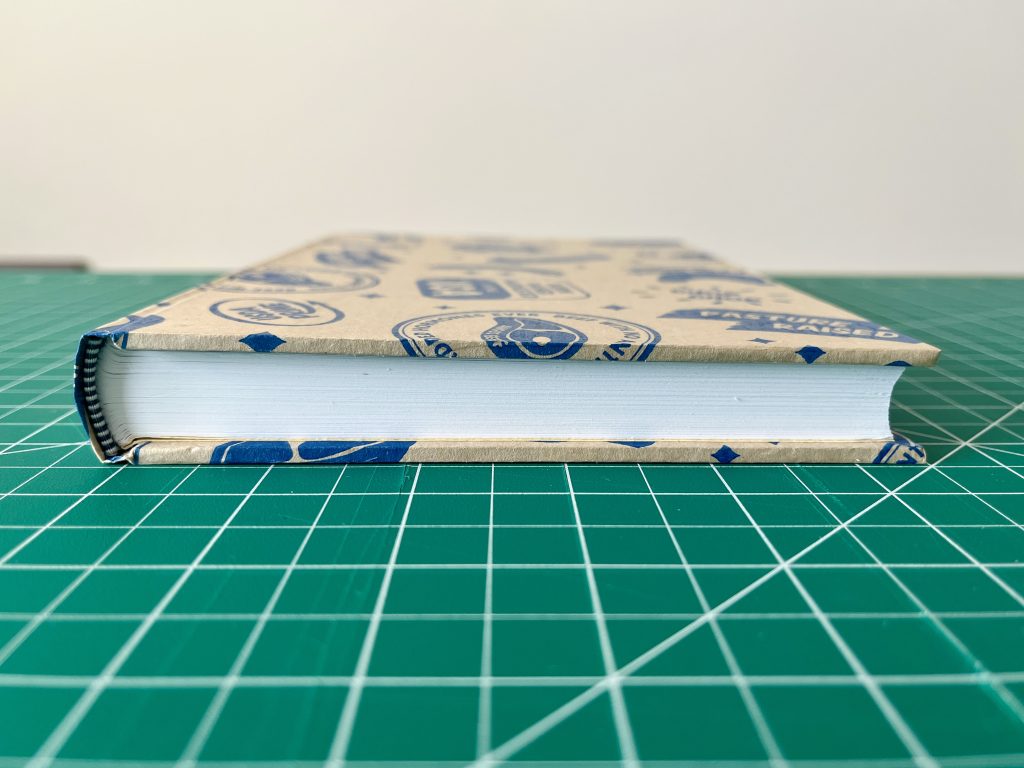
It may not look like it, but this was a major undertaking. This was my first time successfully trimming, rounding, and backing a book. I used coated packing paper from a Good Chop order for the cover and the same end paper + headband from my first rebinding project. The packing paper was a bit of a nightmare to deal with since it obviously wasn’t made for bookbinding, but it looked too fun to pass up and I didn’t want to use something expensive (I anticipated failing miserably). Whenever I use random materials, I call it slapdash binding.
Process:
- Folded 8.5″ x 11″ paper for (16) 4-sheet sections
- Pressed sections overnight to control swell
- Punch sewing holes
- Sewed book on 2 tapes using kettle stitch
- Pasted up first and last sections
- Tipped on end papers
- Applied glue to spine
- Trimmed foredge
- Rounded and backed spine
- Trimmed head and tail
- Glued headbands, mull, and spine cover
- Let spine dry overnight
- Cut boards, spine liner, and book cloth for case
- Glued case together
- Glued down tapes and mull to end paper
- Cased in book block
- Let book dry under light weight
Learnings
It really does pay to use materials made specifically for bookbinding! I’ll continue to play with my slapdash materials (especially when I’m learning something new or just need a fun break), but I’ll have to be ready for special challenges and possibly imperfect results.
Leave a Reply